

If you’ve ever wanted to try your hand at live mixing, you might be thinking: where do I start?
With so many mixing desks available, it can all seem quite daunting. And that’s not to mention the different venues, groups, and speaker setups that you might have to deal with too.
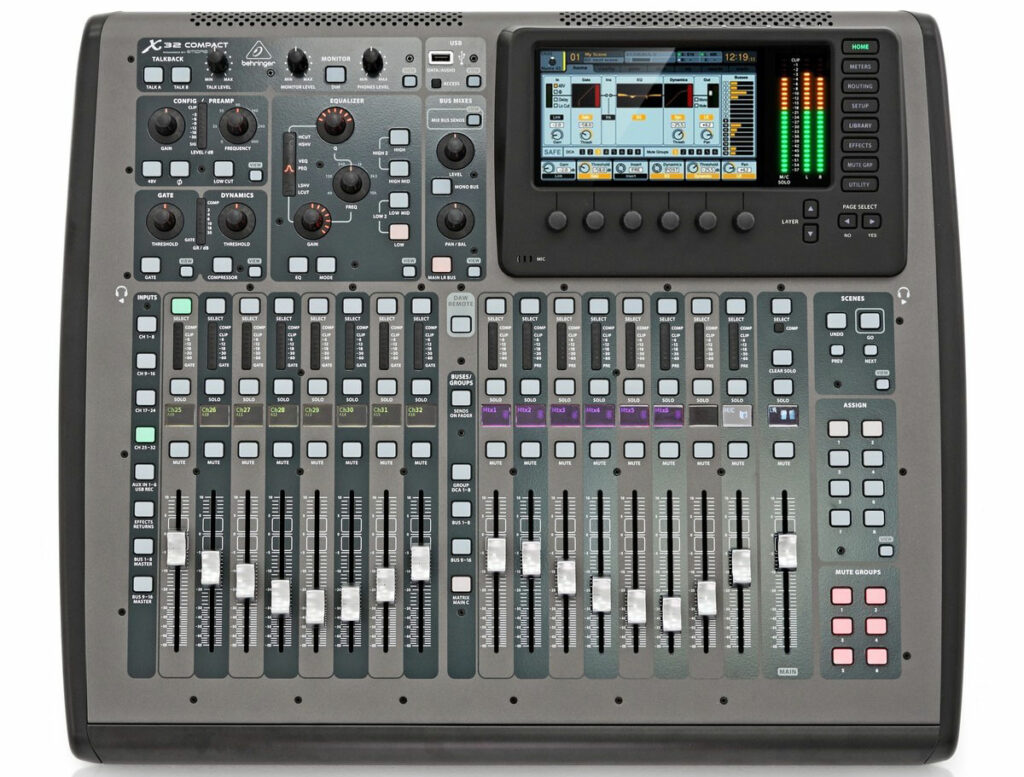
The Behringer X32 Compact is a great place to start, considering all of the above.
It’s small and easy enough to use that virtually anyone with some live sound experience should be able to pick it up. But at the same time, it has many advanced features, and its expandable design works well with larger, professional rigs.
In this article, I’ll take you through the basics of live setup and mixing using the Behringer X32.
Got another desk? Don’t fret! A lot of this information can be transferred to any mixing desk, and you’ll find yourself becoming a pro in no time.
How the X32 Compact fits into your live setup
Before you start mixing, you’ll need something to mix.
You probably already have something in mind if you’ve taken the plunge and bought the X32 Compact. But it’s a good idea to go through, step by step, what inputs you have anyway.
For this article, I’ll use the example of an acoustic trio consisting of a singer, a guitarist who is also a singer, and a saxophonist. So, I’ll need four inputs: two for vocal mics, one for the guitar, and one for the saxophone mic.
I’ll also have the guitar going into a DI Box first, converting the unbalanced output into a balanced one that uses XLR.
On the back of the X32 Compact, there are multiple XLR inputs to choose from, as shown in the image below:
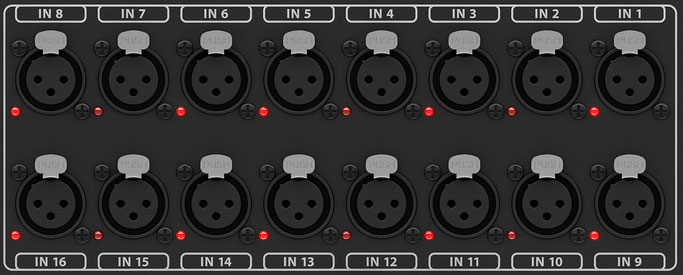
I’ll use inputs 1, 2, 3, and 4. The vocal mics will go in 1 and 2, while the guitar DI will go in 3, and the saxophone mic in 4. You’re probably thinking, this is quite a basic setup, but you can always do more with it if you fancy!
Now you have the inputs, you’ll need an output, or in other words, speakers. For simplicity, start with active speakers – they have amplification built in and don’t need a separate unit. To learn more about the difference between active and passive speakers, read our guide to live sound.
On the X32 Compact, you plug the main outputs into Out 7 and 8. These are also clearly labelled so you know which one goes to the left speaker and which goes in the right.

Once these are plugged in, you’re ready to go. It’s time to start mixing!
Input stage
There are various controls on the top left corner that allow you to set each input up correctly. Before adjusting any controls, make sure the input you want to edit is selected on the channel strip. You do this by pressing the Select button. If a channel is selected, this button will light up green.
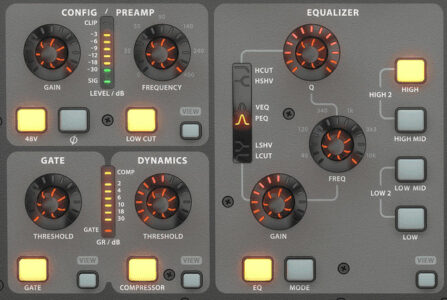
The first control you want to look at is the Gain dial. This sets the input’s level upon entering the desk. Using the Level/dB meter, you want to make sure the incoming signal is at a healthy level and doesn’t clip. Ask performers to play at their loudest when setting this.
If any of your inputs need phantom power (i.e. a condenser microphone) you’ll need to make sure the 48V button is turned on too. The other settings in this section are a little too advanced for this article, so I’ll move straight to the channel strip.
The channel strip
The channel strip is the main area you’ll use when mixing live. See what it looks like below:
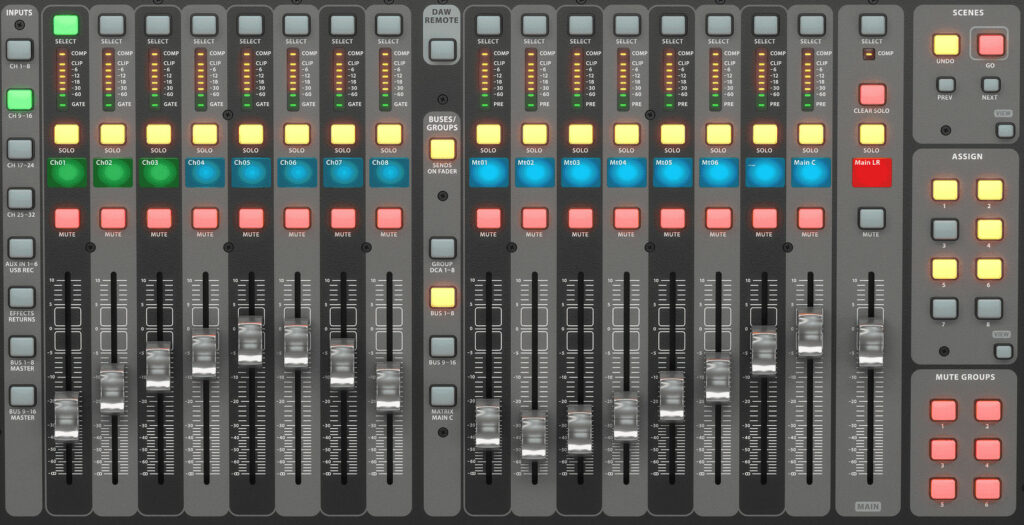
Mixing with faders
If you’ve set the gain to the right level, you should be able to start with all faders at the 0dB mark. You can make adjustments once all instruments are playing together.
If the first vocal mic is too loud, just pull the first fader towards you to turn the level down.
But what if you want just the guitar louder? If this is during soundcheck, try bringing the level of the other instruments down first. This ensures you still have lots of room to turn the guitar up during performance, without using it all up in soundcheck.
The way you mix is then up to you. There isn’t a completely scientific way to do it. Just listen to the tracks and move the faders up or down, depending on what needs to be lower and what needs to be higher.
Mute and solo buttons
You should also try making use of the mute and solo buttons. The mute button is useful if you want to quickly turn a track off, and then back on again.
For example, the saxophone might not play on a few songs. In this case, you can mute the saxophone mic (input 4) to avoid unnecessary sound capture.
The solo button is good for mixing individual tracks, one at a time. If you have headphones, you can use them to ‘listen in’ on tracks during performance, allowing you to fix problems or make them sound better.
Select button and main output
The X32 Compact doesn’t always display all the tracks. On the side, there is a Select button, which switches between groups of tracks. The faders are motorised, so will change position based on which group of channels are selected. Although, for smaller setups like ours, this isn’t needed.
Finally, on the channel strip, you’ll want to check the levels of the main output. This can be done using the Main fader on the far right of the console. You’ll want the ‘normal’ level to be around 0dB, giving you plenty of room to fade the entire mix out when you need to.
App Control
If you, yourself, are mixing, or want to mix away from the X32 Compact’s position, you can use the X32-Mix app for iOS and Android. This gives you access to all the settings you might need and makes it easy to mix from afar.
Get mixing!
This has been a very basic overview – but hopefully you get the gist of what is possible for basic mixing with the Behringer X32 Compact.
We’ll continue this series in the future with deeper dives into the different sections of the mixer, so keep your eyes peeled for those!
If you need a wider range of mixing capabilities, why not check out the bigger Behringer X32?
Or if you need something a little more compact, why not check out our review of the Behringer Flow 8 digital mixer?


")


0 Comments