

No one wants a dodgy out-of-tune note ruining a beautiful piece of violin music, and that’s why it’s incredibly important to spend time tuning your violin. Notes vary depending on a string’s length, tension, and thickness, but you can change the tension, thus changing the note, when you tune a violin. You do this by turning the violin pegs, which loosen or tighten the string.
There’s more to it than that, and in this article, we’ll give you our top violin tuning tips, so you can have your violin sounding its best.
Key takeaways
If you don’t want to read the full thing, here’s how to tune a violin in five steps:
- Place the violin on your lap, your shoulder, or a flat surface. If the violin is on your lap, which we recommend, hold the instrument at the base of the neck with one hand and use the other to turn the tuning pegs
- Loosen the strings by turning the tuning pegs anticlockwise
- With the thumb of the hand that’s holding the violin, start plucking the string you’re tuning
- Turn the peg clockwise to tighten the string whilst also pushing the peg into the peg box, repeat this until you reach the desired pitch
- If you find that the pitch is not correct, repeat steps 2-4
Standard violin tuning
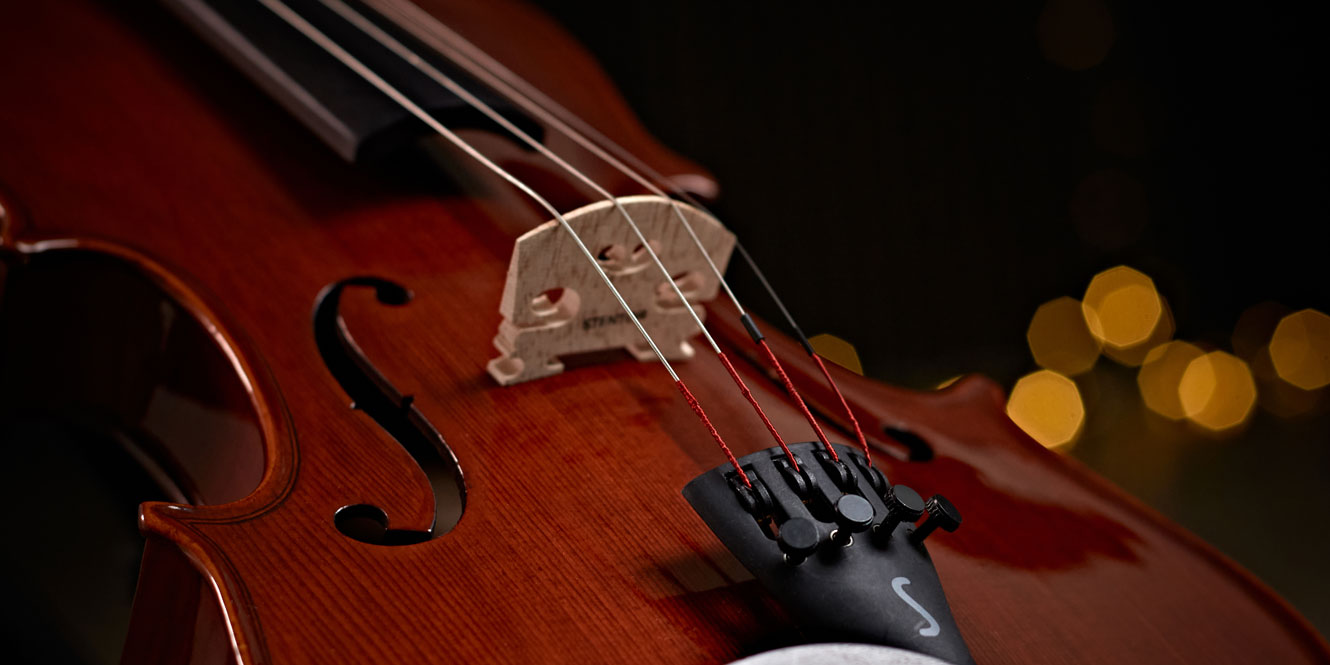
Violins are tuned to ascending perfect fifths starting from G, so all four strings are tuned to G, D, A, and E (standard tuning, starting from the thickest and lowest string). To master the art of tuning your violin, you’ll need to get familiar with the standard tuning.
Each string has a tuning peg, which is used to alter the string’s tension. The G string corresponds to the upper-left peg, D is adjusted with the lower-left peg, A with the upper-right peg, and E with the lower-right peg.
You’ll need:
A digital tuner
 Digital tuners make violin tuning quick and accurate. Simply use the attached clip and secure it to your instrument.
These work by detecting the pitch of the string you’re playing and displaying it on a screen.
Some models like the Snark SN5X show the specific note you’re playing, while others use a bar or dial to indicate whether the note is too sharp or flat.
When tuning, pluck or bow a string and watch the screen.
If the note is sharp, loosen the string; if it’s flat, tighten it. Keep adjusting the tension until the correct note appears and stays on the display, ensuring your violin is perfectly in tune.
Recommended tuner: Snark SN5X Clip-on Guitar Bass and Violin Tuner
Or a reference tone
 Tuning your violin using a reference tone, like a pitch pipe or keyboard, requires a good ear.
This means you can match the sound of your string to the correct note. For example, play a G on the piano or pitch pipe, then adjust the tension of your G string until it matches that tone. Repeat this process for the D, A, and E strings.
Tuning by ear takes time to master, as you’ll need to develop your ability to hear when two notes match.
Pitch pipes, such as the Tombo Chromatic Pitchpipe, are great for training your ear to identify pitches.
This is a skill that improves with practice, so don’t worry if it feels tricky at first. Keep listening carefully and adjusting until the sounds align.
Recommended pitch pipe: Tombo Chromatic Pitchpipe
How to tune a violin
1. Position the violin
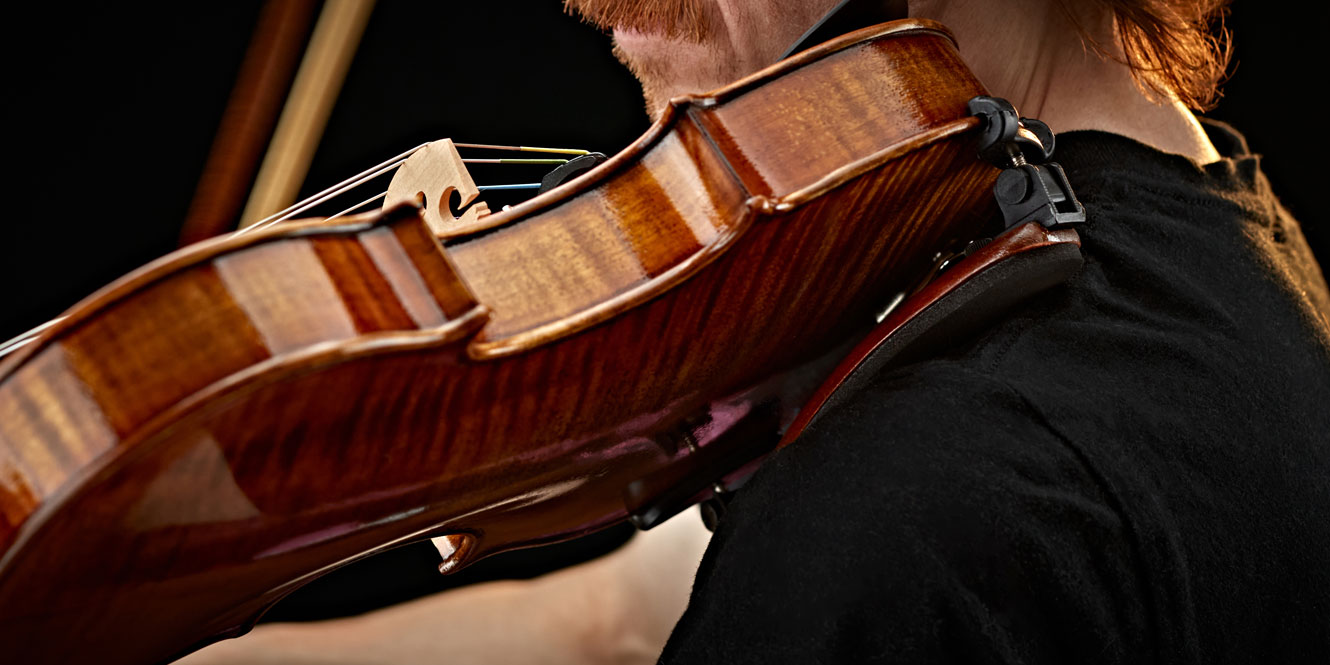
The first thing to do is position the violin in a way that’s comfortable for you. This could be on a flat surface, on your shoulder as if playing, or upright on your lap. We recommend placing it on your lap as this gives you easy access to the tuning pegs and fine tuners, allowing for a more controlled adjustment process.
2. Lower the string tension
To lower string tension, gently turn the tuning pegs anticlockwise. Lowering the string tension means you’re loosening the strings, so they’re nice and lax, ready for you to tighten and raise the tone to your desired note.
3. Turn the tuning peg slowly
When tuning your violin, begin with the lowest string, G. Now that the string is loose, you should gently turn the tuning peg clockwise to tighten the string and raise it to the correct note. Turn the peg in small increments, as larger movements could snap the string. Keep plucking to check the pitch.
Push the peg into the pegbox while turning to prevent it from slipping. Continue adjusting slowly until the string’s pitch matches the note on your tuner or closely aligns with the reference tone. This steady, careful process ensures a controlled tune without risking damage to the string.
If you notice the pitch of the string is not correct when you release the peg, restart tuning.

4. Adjust the fine tuners
Fine tuners are located on the tailpiece. You’ll find that student violins often have fine tuners on all four strings, while advanced violins typically only have one on the E string. Fine tuners allow for precise tuning adjustments, so once you’ve nearly reached the pitch using the tuning pegs, use the fine tuners to make tiny changes to the string’s tension and hit the note exactly.
Turn them slowly to avoid overtightening or loosening the string.
Not only do fine tuners give you greater control over the string’s tension, but they’re also great for making quick tuning changes on the fly, instead of taking time to fully retune the whole instrument.
5. Repeat on the other strings
After tuning the G string, repeat the process for the remaining strings – D, A, and E. Turn the tuning pegs in small increments, just as before, to avoid snapping a string. Continuously pluck each string while adjusting, and use fine tuners for final tweaks.
Our violin tuning tips
- When starting out, use a digital tuner – these are the best for beginners who haven’t trained their ear yet
- Always listen carefully as you tune, training your ear to identify the notes
- Allow time for your strings to be worked in – new strings often need tuning more frequently during the first couple of uses
- Make sure to push the peg in sufficiently to avoid loosening the strings
- Don’t overtighten the fine tuners as this can damage your instrument
Why do violins go out of tune?
Violins often go out of tune due to climate changes and how often you play.
Extreme heat or cold can cause the wood to expand or contract, affecting string tension. To prevent this, store your violin in a stable environment, avoiding temperature or humidity fluctuations.
New strings can also take time to stretch fully, meaning they require frequent re-tuning initially. Additionally, tuning pegs can sometimes become loose, which may lead to slipping and cause the violin to go out of tune. Make sure to push the pegs firmly into the pegbox while tuning to keep them secure and maintain string tension.
FAQs
Why is it so hard to tune my violin?
Tuning a violin can be tricky if the tuning pegs keep slipping or sticking in the pegbox. It’s also important to remember that strings are sensitive to small changes in tension, so even slight peg movements can shift the pitch dramatically. New strings or freshly installed pegs take time to settle, requiring frequent adjustments. You might also find it difficult if you’re tuning by ear as it involves matching pitches precisely, if this is the case, use a digital tuner when you’re starting out. Keep practising tuning your violin – the more you do it, the easier it will be.
What is the tuning for the open strings of a violin?
The tuning for the open strings of a violin is G, D, A, and E, starting from the thickest string. This is standard tuning, and it’s essential for most classical and modern violin music. The term “open string” means a string that is played without being pressed down on the fretboard.
Which way do you turn the fine tuners on a violin?
To adjust the fine tuners on a violin, turn them clockwise to raise the pitch and anti-clockwise to lower it. Fine tuners allow for precise adjustments, so turn them slowly in small increments to avoid over-tightening the string. They are especially useful for minor tuning corrections after using the pegs.
Final thoughts
Tuning a violin is a skill that will get better over time, but our advice is to invest in a digital tuner and tune your violin on your lap as we find this to be the most comfortable position.
Hopefully, you’ve picked up some useful violin tuning tips! To learn more, check out the following articles:
The 7 Best Violin Brands for Beginners and Pros
Strings of a Violin – What Are They and Which Ones Do I Need?
Violin Sizes – Which Size is Best for Me?


")


0 Comments