

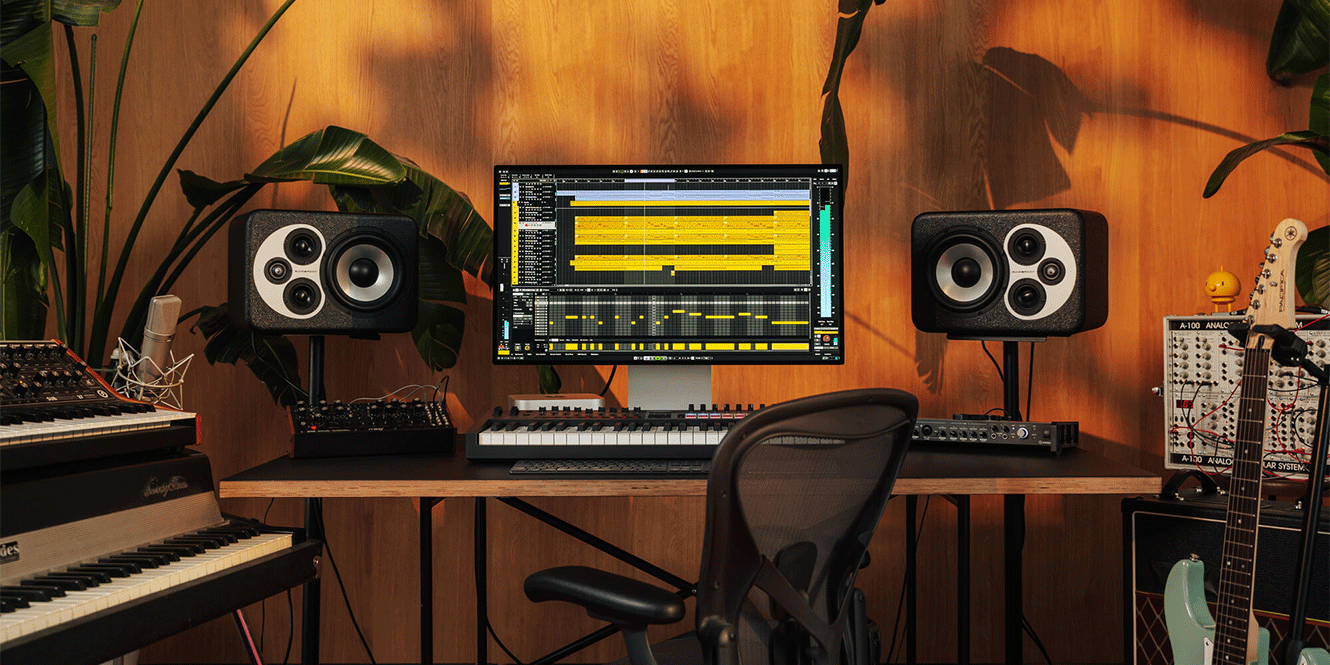
Ableton Live is one of the most popular digital audio workstations (DAWs) for musicians and producers, especially those interested in electronic music. It provides an extensive array of tools that enable you to craft electronic beats, record your live instruments, and edit your MIDI and audio tracks. Among these tools is quantization, which is essential for ensuring tracks stay in the groove.
Quantization aligns the timing of notes or audio clips to a predefined grid, meaning it keeps your music rhythmically tight and precise. If you’ve recorded live instruments and need to tweak the timings slightly or you want to perfect MIDI arrangements, quantization is crucial.
We’ve already shown you how to use Ableton Live and introduced you to its format, but if you’ve mastered the basics, you might be looking to learn something a bit more specific. In this guide, we’ll teach you how to quantize in Ableton Live. It’s a fairly simple process, but it’s invaluable to know, whether you’re a beginner looking to tighten up your tracks or an experienced producer wanting to refine your workflow.

Key takeaways
Don’t want to read the full thing? Here are the basic steps to quantizing in Ableton Live:
- While recording: Head to the Edit menu and select Record Quantization. In this menu, choose to automatically align your audio and MIDI notes to the grid as you play.
- Post-recording: Open the Edit menu and visit Quantization Settings. Here, choose the grid value and adjust the amount you want to quantize the track.
- Specific notes: Select the individual MIDI notes or audio clip and open Quantize Settings. In this menu, you can adjust the quantization of the specifically selected sections.
What is quantization in music?
Quantization is a process that aligns the timing of MIDI and audio notes to a grid within your DAW, ensuring your track is tight and rhythmically precise. It’s particularly useful for fixing timing errors and helping to correct notes that are played slightly ahead of (rushed) or behind (dragged) the beat.
You can use it on both MIDI and audio tracks, making it easy to synchronise drums, melodies, and other elements of your project. Ableton Live also gives you control over beat divisions (e.g., quarter notes or triplets) and quantization strength, so you can choose how closely notes are aligned to the grid. By reducing the strength, you can preserve a natural, human feel and avoid an overly robotic sound.
Quantization is an essential tool for creating professional, polished tracks, ensuring every element fits seamlessly into the groove of your music.
Time signatures and note values
Ableton Live’s grid system is central to its quantization features. The grid divides time into measurable segments based on the project’s time signature. Common time signatures like 4/4 divide each bar into four beats, but the division of these beats – known as note values – is where quantization becomes key.
To quantize effectively, you need to understand the terminology for note lengths. In UK terminology, a Breve represents a double whole note, a Semibreve is a whole note, and a Minim is a half note. A Crotchet corresponds to a quarter note, while a Quaver and Semiquaver represent eighth and sixteenth notes, respectively.
For even finer subdivisions, Demisemiquavers denote thirty-second notes. These terms help determine the beat divisions your notes will snap to during quantization.
Choosing the right note value is vital for maintaining the rhythm of your project. For example, quantizing to sixteenth notes works well for fast drum patterns, while quarter notes might suit slower melodies.

How to quantize in Ableton Live
While recording
To quantize while recording in Ableton Live, navigate to the Edit menu, then select Record Quantization. Here, you can choose a grid configuration to automatically align your MIDI or audio notes to the grid as you play. Options include different note values, such as eighth or sixteenth notes, ensuring that your performance stays tight and in time.
Real-time quantization is especially helpful for live recording, as it minimises timing errors immediately. Adjusting the grid configuration ensures your notes fit the desired rhythm, making your recordings sound polished from the start.

Post-recording
If you’ve already recorded your performance, you can quantize it by going to the Edit menu and selecting Quantization Settings. In this window, the Quantize To parameter lets you set the grid value to which notes will snap. The Amount slider adjusts how strongly the timing aligns with the grid, giving you control over the balance between precision and natural feel.
By carefully adjusting the Amount, you can preserve the groove of your track while correcting timing inaccuracies. This approach is ideal for achieving a professional sound without making the performance overly robotic.

Specific notes
To quantize individual notes, right-click on the note or audio clip and select Quantize Settings. This allows you to adjust timing for specific elements without affecting the entire clip. For instance, you can correct a single offbeat note in a drum loop or melody.
Targeting specific notes avoids over-quantizing, which can strip a performance of its natural groove. It’s a great way to fine-tune timing while maintaining the musicality of your track.

When to quantize (and not sound robotic)
Quantization is a powerful tool, but its application needs to be considered if you want to preserve the character of your music and avoid any robotic timings.
In genres like electronic or dance music, where precision is critical, use stronger quantization settings – these genres need extremely tight and synchronised beats and rhythms. For example, quantizing to sixteenth notes can lock in fast drum patterns, while tighter timing on basslines ensures they drive the track effectively.
In genres like blues, jazz, or rock, you might want a more easy-going, fluid feel, so lighter quantization or selective manual adjustments may work better. These styles often thrive on subtle timing variations that give the music its human touch.
To get the best results when quantizing, always choose the correct beat division for the style of music you’re producing. For intricate rhythms, align to sixteenth notes or triplets; for simpler grooves, quarter notes may suffice. Use Ableton’s Amount slider to control how strictly notes adhere to the grid. Reducing this setting below 100% can preserve the natural timing nuances while still tightening the performance.
Another helpful tip is to preview the quantization settings before applying them across an entire track. Focus on specific sections or instruments that require adjustment, and use manual quantization on problem areas instead of applying it globally.

FAQs
What is the shortcut to quantize in Ableton?
The shortcut to quantize in Ableton is “Ctrl + U” on Windows and “Cmd + U” on Mac. To open the quantization settings via shortcut, press “Ctrl + Shift + U” on Windows and “Cmd + Shift + U” on Mac. These shortcuts allow quick and precise adjustments to align notes or audio to the grid.
How do I quantize a MIDI file?
To quantize a MIDI file in Ableton Live, select the MIDI notes and press “Cmd + Shift + U” to open the quantize dialog. This lets you shift notes to the nearest grid line, creating perfectly timed MIDI regions.
How do I quantize an audio track?
To quantize an audio track in Ableton, open the Quantize window, adjust strength settings, and mark key transients. Use “Quantize To” to snap hits to the grid, then apply quantization. This aligns the track with your mix, ensuring consistent timing and rhythmic cohesion.
Final thoughts
Quantization is a powerful feature in Ableton Live that helps bring precision and polish to your music. Aligning notes to the grid ensures timing is tight, whether you’re working on intricate drum patterns or simple melodies.
The key to effective quantization is balance. Use the right note values and adjust the Amount slider to avoid over-quantizing, preserving the human feel of your tracks. For genres that thrive on swing or groove, such as jazz or blues, manual adjustments can also help retain authenticity.
Now you’ve discovered how to quantize in Ableton Live, practising and mastering these techniques will make your tracks much more professional while maintaining the unique character of your performances.
Want to learn more about DAWs and music production? Check out some of our blog posts here!
How to Use Ableton Live – A Complete Guide for Producers
Ableton Live vs. FL Studio – Which is the Right DAW for You?
Hip-Hop Production – Our Tips for Making Hip-Hop Beats


")


0 Comments