


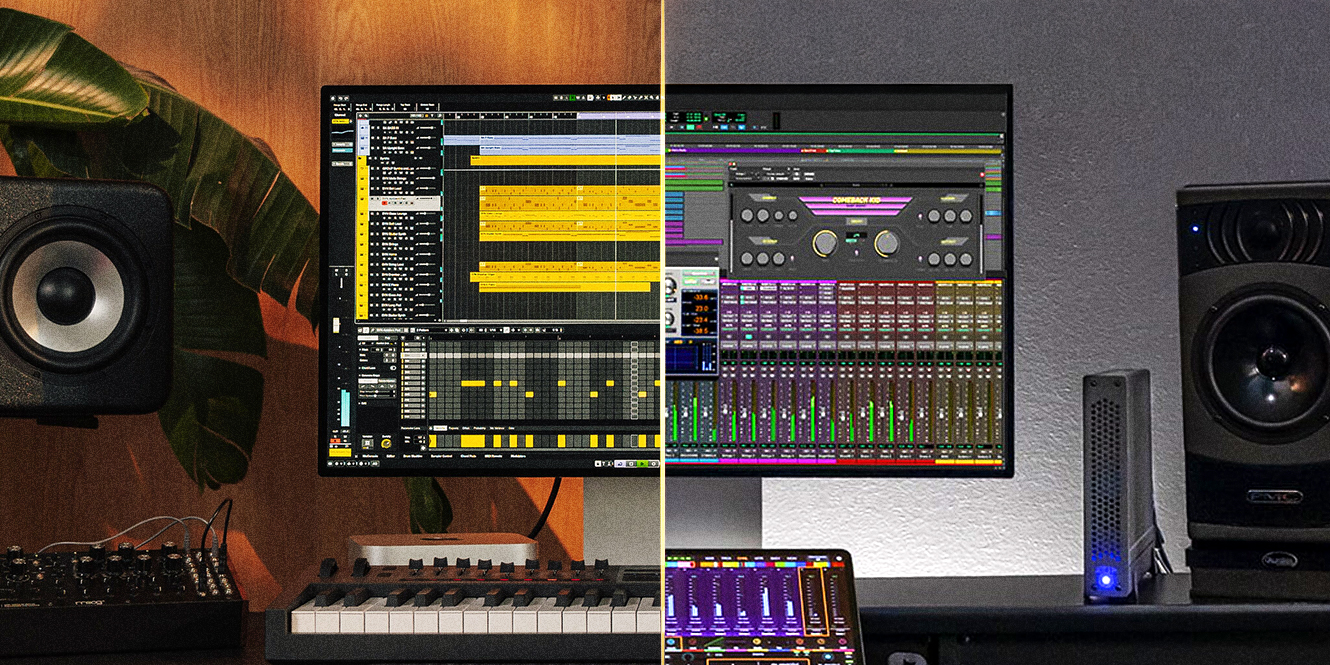
MIDI controllers give you a more hands-on way to make music. Rather than drawing every note with a mouse, you can play melodies, tap out beats, move faders, and adjust effects using physical controls. Most modern controllers are straightforward to connect, but you’ll still need to make sure your hardware and DAW are communicating properly.
So, let’s get into setting up one!

Key takeaways
- Connect your controller via USB or MIDI
- Install any required drivers or software
- Enable the controller in your DAW
- Map your keys, pads, faders, and encoders
What is a MIDI controller?
A MIDI controller is a piece of hardware used to control music software or other MIDI-compatible equipment. MIDI stands for Musical Instrument Digital Interface, and it sends instructions rather than audio.
Pressing a key can tell a virtual instrument which note to play, how hard you played it, and when you released it. A fader could change a track’s volume, while an encoder might adjust a synth filter or effect.
Controllers come in different forms. Some use piano-style keys, while others focus on drum pads, faders, encoders, or a combination of controls. That flexibility makes MIDI useful for everything from performing software instruments to programming drums and automating a mix. Instead of relying entirely on your mouse and keyboard, a controller gives you a physical way to interact with your DAW.
To learn more, check out our guide to MIDI.
How to set up your MIDI controller
1. Connect your MIDI controller
Most modern MIDI controllers connect directly to a computer via USB, which often carries MIDI data and supplies power at the same time. Connect the controller before opening your DAW. If you’re using traditional 5-pin MIDI instead, connect the controller’s MIDI Out to the MIDI In on a compatible audio or MIDI interface.
2. Install any drivers or software
Many MIDI controllers are class-compliant, meaning they work without a dedicated driver. However, always check the manufacturer’s instructions. Your controller may require drivers, firmware, or configuration software. Installing these can also unlock additional features, including custom pad assignments, MIDI channels, encoder behaviour, or deeper integration with specific DAWs.
3. Enable the controller in your DAW
Open your DAW and find its MIDI, controller, or input preferences. Your device should appear as an available MIDI input. Enable it and select a dedicated controller profile or script if one is available. This can automatically configure features such as transport controls, faders, and encoders without requiring you to map everything manually.
4. Load an instrument and test it
Create a MIDI or instrument track and load a virtual instrument or VST. MIDI itself doesn’t produce sound, so you’ll need an instrument for your controller to play. Press a few keys or pads and check for MIDI activity. If the DAW receives MIDI but you hear nothing, check your instrument, track routing, and audio output.
5. Map your controls
Once the basic connection works, assign your faders, pads, encoders, and buttons to useful software parameters. Most DAWs offer a MIDI Learn or mapping function. You could map faders to mixer levels, encoders to synth parameters, and pads to drum samples. Save your mappings or project as a template so you can reuse them later.
Common issues in MIDI connection: a troubleshooting guide
If your controller doesn’t appear in your DAW, check the USB or MIDI cable first. Reconnect the device, restart your DAW, and make sure any necessary drivers are installed. You might also want to try another USB port or cable to rule out a connection problem.
If you notice a delay between playing a note and hearing it, this is usually caused by audio latency rather than MIDI. Try lowering your audio buffer size, but not too low, as this may introduce clicks or dropouts.
If your DAW detects MIDI but there’s no sound, check that you’ve loaded a virtual instrument and selected the correct audio output.
Keys may also work while faders or encoders don’t. In this case, look for a dedicated controller profile or use your DAW’s MIDI mapping tools to assign them manually.
Choosing the right controller
Think about what you want to control before choosing a MIDI controller.
If you mainly play melodies and chords, the number, size, and feel of the keys will probably be the most important things to look out for. Beatmakers may prefer responsive drum pads, while producers who want hands-on control over mixing and automation tend to look for faders and rotary encoders.
Think about your software too. Some controllers are designed to work especially closely with certain DAWs. Novation’s FLkey range, for example, is aimed at FL Studio users, while Fender Studio Motion controllers are designed around Fender Studio.
For hands-on DAW automation, the Novation Launch Control 3 focuses on physical control over software parameters through faders, encoders, and buttons.
For beginners, we recommend the Arturia MiniLab 3. This combines keys, pads, encoders, and sliders in a compact format. It also includes Ableton Live Lite, which is useful if you don’t already have music-production software.
If finger drumming is your priority, a pad-focused controller such as the Fender Studio Motion 16 may suit you better.
Build your setup around the way you work
Your music production setup should meet your needs and streamline your workflow. Choosing the right MIDI controller and DAW is one of the most important decisions you’ll make as a musician. If you’re constantly changing the filter cutoff on a synth, map it to an encoder. If you’re always tweaking track levels, assign them to your faders. If you program lots of drums, put your most-used sounds on the pads.
Building your mappings gradually gives each control a clear purpose. It also means your setup reflects the way you actually work rather than the way you imagined you’d work before using the controller. Remember that you don’t necessarily need one universal mapping either. A setup designed for playing synths could be completely different from one intended for mixing or finger drumming.
The best MIDI setup isn’t the one with the most controls assigned. It’s the one that helps you reach the controls you need without having to think about where they are.
FAQs
What does a MIDI controller do?
A MIDI controller controls music software or compatible hardware by sending MIDI data rather than producing audio itself. It lets musicians play notes, trigger samples and adjust virtual instruments using keys, pads, knobs, faders, and other controls.
What is the best MIDI controller for beginners?
The best MIDI controller for beginners is an easy-to-use model that suits their software, budget, and available space. A compact keyboard with velocity-sensitive keys, pads and assignable controls provides a versatile starting point for music production.
Do I really need a MIDI controller?
A MIDI controller isn’t a requirement to produce music, as most music software can be operated with a mouse and computer keyboard. A MIDI controller can make playing instruments, programming beats, and adjusting parameters faster and more intuitive.
Final thoughts
Learning how to set up a MIDI controller is mainly about getting your hardware, DAW, and instruments communicating correctly. Connect the controller, enable it in your software, load an instrument, and make sure everything works before creating more detailed mappings.
From there, tailor the controller around how you make music. Whether you’re playing instruments, programming drums, or automating a mix, a well-configured MIDI controller can speed up your workflow and creative decision-making.


0 Comments